AdEH MaNTaN PenTerNak RuMiNaN
Kini Menternak Unggas sebagai Hobi Jerrrrrrr!!!
Halaman
HOME
EXCHANGE
MEMORY
15 Oktober 2011
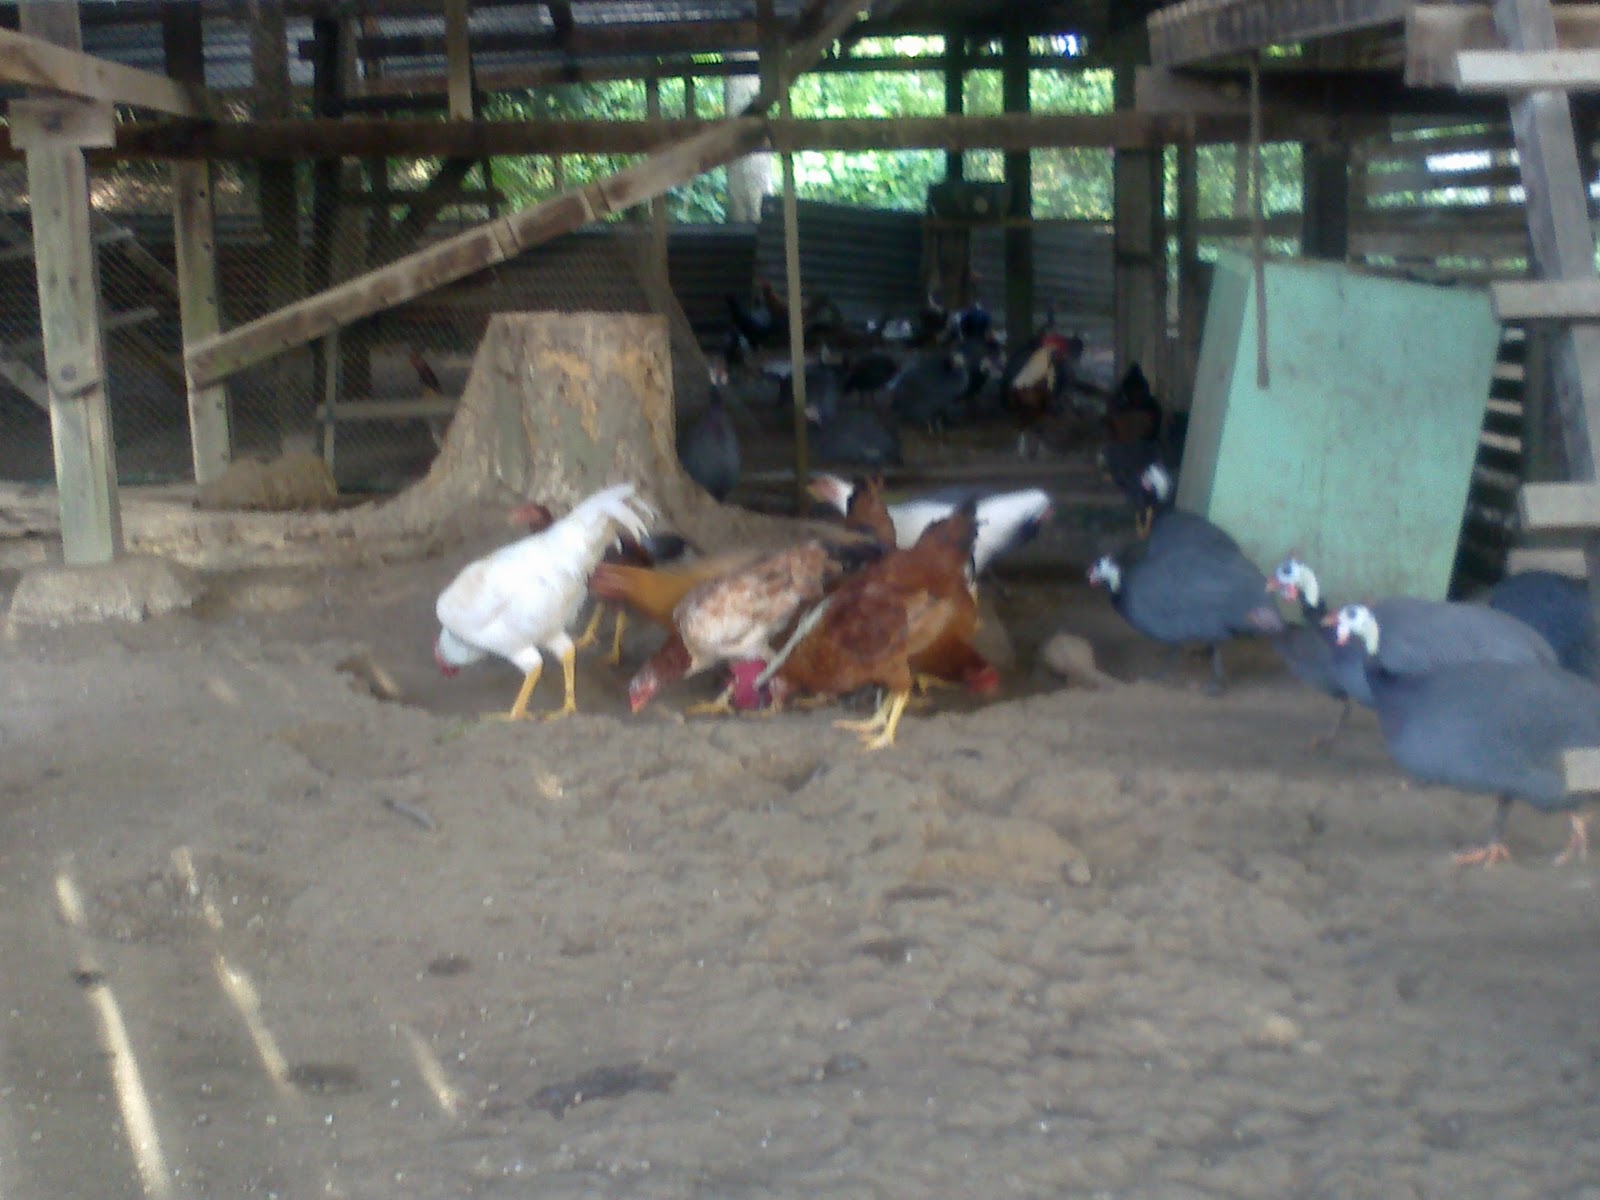
Ayam Untuk Dijual
Ayam untuk dijual, semua yang ada didalam gambar.
07 Mei 2011
Ibu dan Anak
Tambah kapsyen
Catatan Lama
Laman utama
Langgan:
Catatan (Atom)